VARIOUS WAYS ON ATTACHING YOUR IRON ON PATCHES
This article discusses the various tools you can use to attach an iron patch.
The two most popular devices in use today include home irons and heat sealers. Ironing the patch with a household iron, the first thing you need to do is prepare the following things:
A name that means death. Custom patch How to track a homemade iron patch. The procedure is easy and usually takes a few minutes.
Problems can occur when using very sensitive clothing or defective irons that do not provide the correct temperature. Names That Mean Death
• Set the iron to dry. Preheat to adjust the cotton
(if you are not sure what type of fabric you have, you can reduce it to one or two settings)
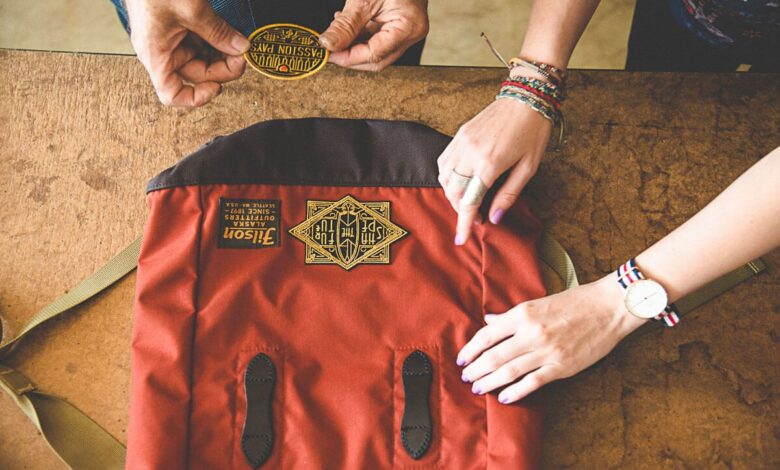
• Place the patch in the desired position and press the cloth over the top.
Place a support board between the iron plate and the fabric.
The support reflects the heat back to the patch and the iron instead of drawing the heat to the ironing board to speed up the process and provide a flat, firm connection.
• Press the iron down, up and vertically, for 25 to 40 seconds to apply the patch in place.
• Inward or inward, using a shrink cloth for 30 to 45 seconds from behind. Allow the patch and your contents to cool completely.
VARIOUS WAYS ON ATTACHING YOUR IRON ON PATCHES
Check the edge of the patch with your nails to make sure it is well protected. If not, repeat the procedure, but this time increase by 10 to 20 percent to ensure that the patches and clothing are secure.
• This is very important: If you fail on the first try, do not remove the patch that will damage the glue. To solve the problem, simply repeat the procedure, but add more time to warm up.
Some irony is not very hot without a temperature gauge.
The purpose is to dissolve the glue in the material without burning the patch or material. Ironing the patch with a sealing machine Here are a few things you will need when using a sealing machine.
• Heat sealing machine
• Print (muslin cloth or thin piece of cotton) or Teflon plate Here are ways to monitor the adhesive plate from the sealing machine. Errors in this process are very rare.
Set a timer and heat the bottom of the machine to the thickness of the material or patch. There are examples that you need to add more than the recommended time.
You can add a step of ten seconds. At 350 degrees you can add ten to twenty seconds, and at 375 degrees you can add fifteen to twenty seconds.
• Press for the first time to count down.
• Turn upside down or inward and continue using the Teflon sheet or repeat step 2 from behind for ten to twenty seconds.
Allow the patches to cool completely.
Check the edge of the patch with your nails to make sure it is secure. If not, you can repeat this procedure, but this time increases it by 10 to 20 percent each time, just make sure your clothes and patches are safe.
• If you make a mistake on the first try, such as using a household iron, do not remove the patch as this will damage the adhesive. Just repeat the steps, add more time.
The good thing about sealing machines is that as long as you keep the vertical movement up and down and the press or Teflon cloth,
you can be sure that the glue in the fabric is completely melted. Since there is a high chance that you will burn your clothes, be careful not to overdo it.
Before you start, it is important to know your clothes well to avoid problems during the process.
Read More: Names That Mean Death